How Can We Help?
Reinstall Synology RackStation RS812+
Did you remove all your drives and replace them with brand-new ones? Do you want to reinstall your Synology NAS? Or are you not able to connect to the web page? In one of these cases you might want to completely reinstall your NAS, this article explains to you how to do that.
Prerequisites
Your NAS must be connected to the internet.
This article is targeted for the Synology RackStation RS812+, it might also work for other types.
For future notice, the Synology RackStation RS812+ changelog can be found at synology.com.
Reinstalling the NAS
On your PC go to find.synology.com. This will show a list of Synology NASses in your local network. Select yours, and click next.
If you do not have any drives in the NAS it will prompt you to insert them, do this and click on reconnect.
It will now give you the option to reinstall the NAS. In case you want to install a specific version click on Manual Installation, otherwise hit next. Take note that the installation takes some time.
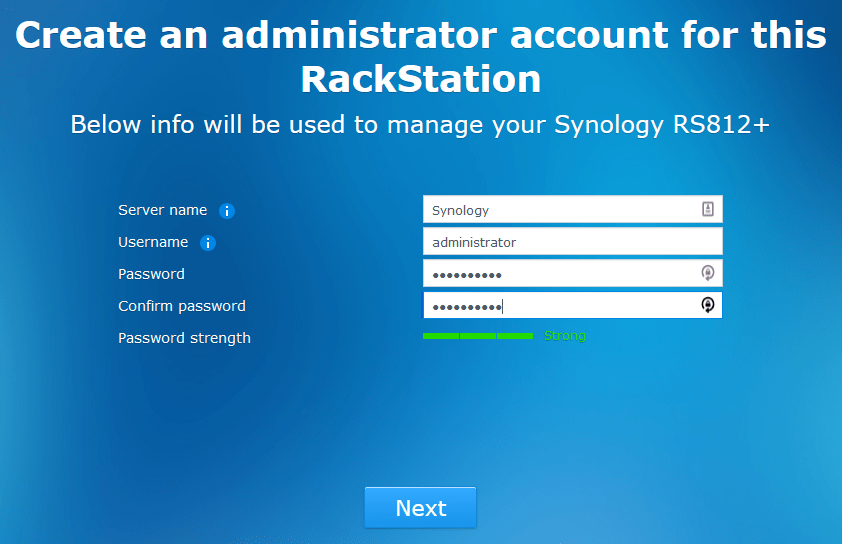
Once the installation is finished it will show you a page to create the administration account. Fill in the details and click next.
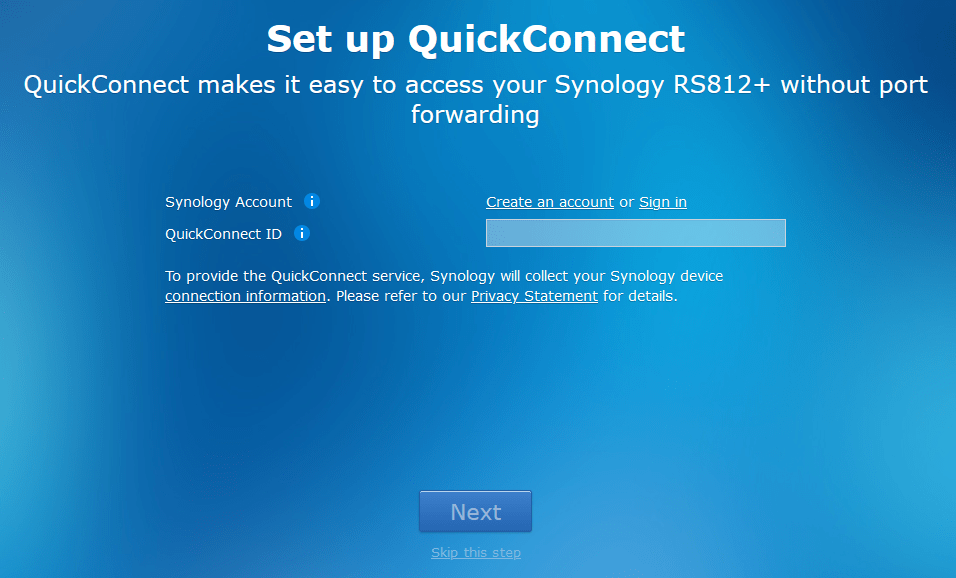
The next step asks you to set up QuickConnect. This makes it easier for you to access your NAS outside of the home network. If you want to enable these settings, login with your Synology account. If you don’t want this you can skip this step.
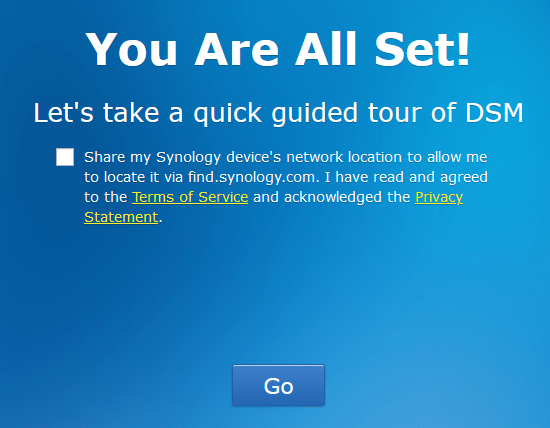
Now the installation is complete!
2 Responses
I love how you share details in a concise and logical manner that is simple to follow.
Your style is eloquent and powerful, I’ve been touched.