How Can We Help?
PfSense Installation
PfSense is a firewall that gives you the possibility to secure your network. However, pfSense is much more than that, you are able to set up VLANs, DNS, DHCP, VPN, and much more.
Prerequisites
For future notice, the PfSense release notes be found at docs.netgate.com.
Installation
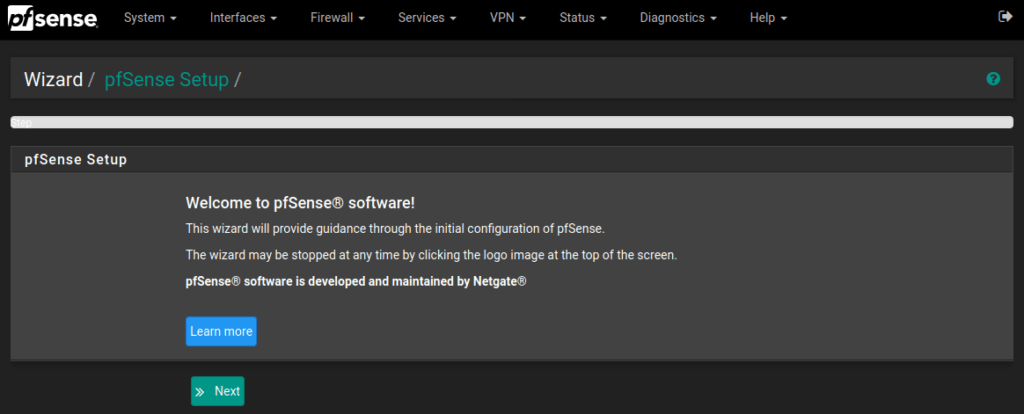
After you boot pfSense for the first time you can go to the webConfigurator. Since it is your first time it will show you a wizard to quickly set up pfSense.
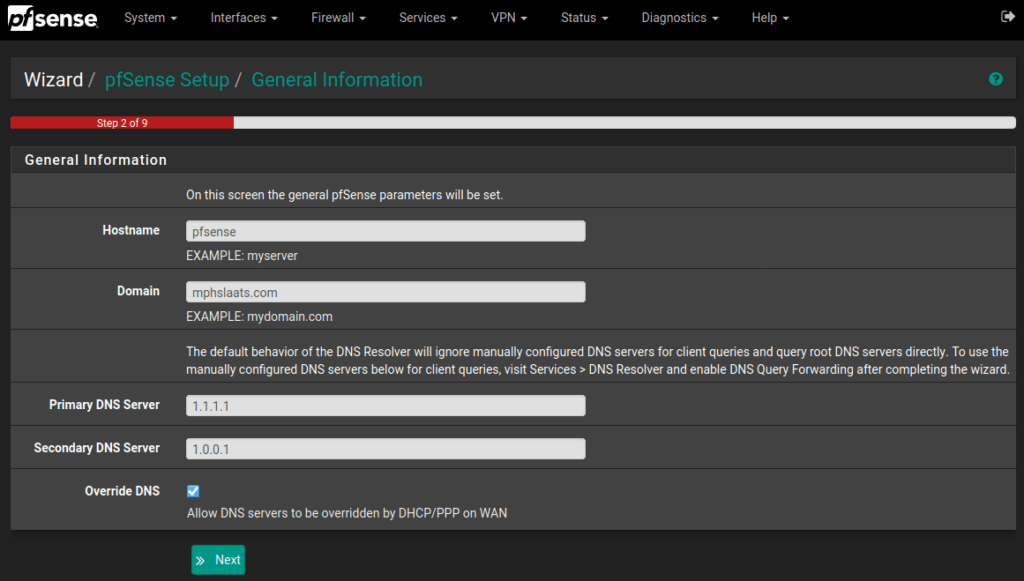
After starting the wizard, it requires some basic information like hostname, domain, and DNS servers. Fill in the information to your preference.
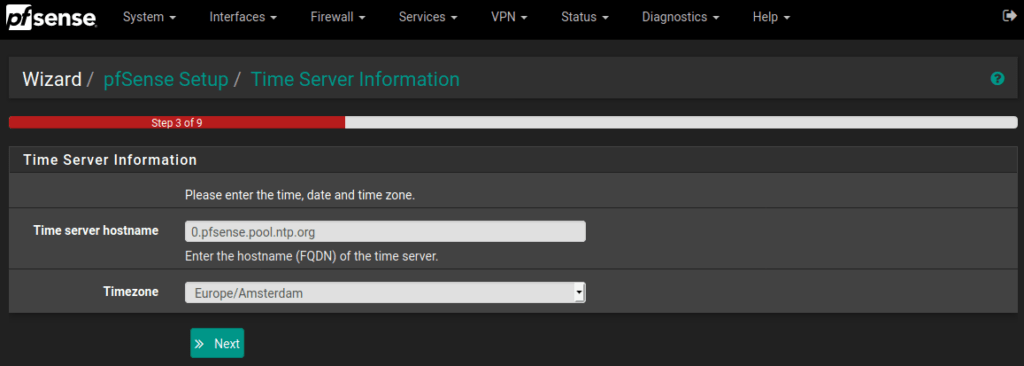
Next up, pfSense lets you choose the time server for pfSense, fill in the information for your location.
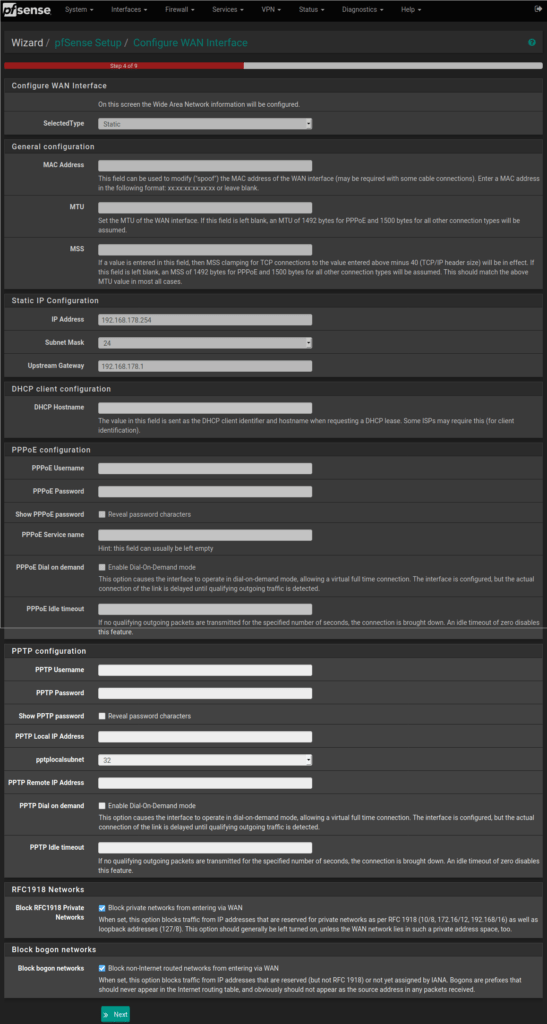
Now you have to configure the WAN interface. If pfSense is connected to an internet modem, it is recommended to set up a Static IP. This way pfSense has a very small chance of not getting internet from your modem. Fill in your preferred IP under Static IP Configuration. It is also recommended to enable both RFC1918 Networks and Block bogon networks, for security.
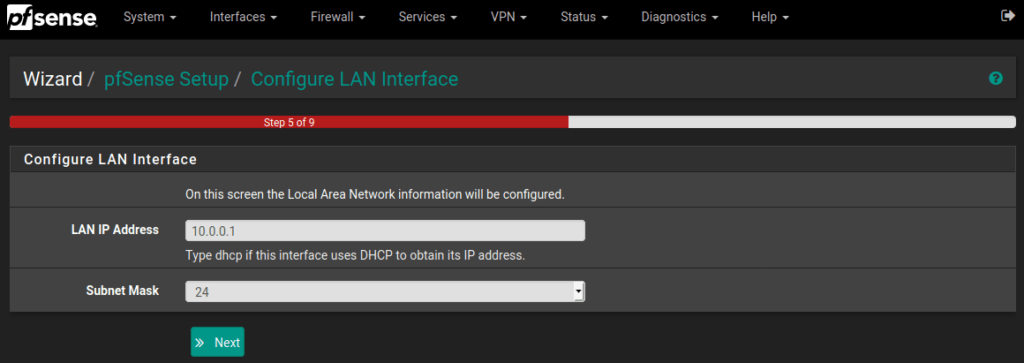
After configuring the WAN, it is time to configure the LAN. Fill in your preferred LAN IP and Subnet Mask.
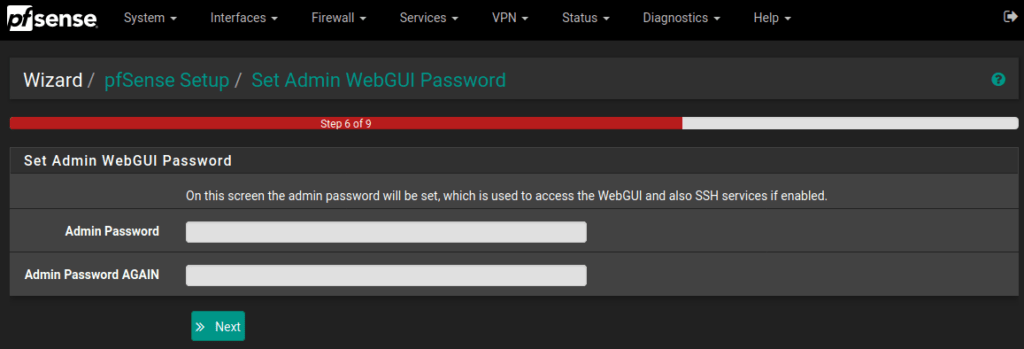
PfSense is configured with the default password, in this next step you are able to change the administrator password.
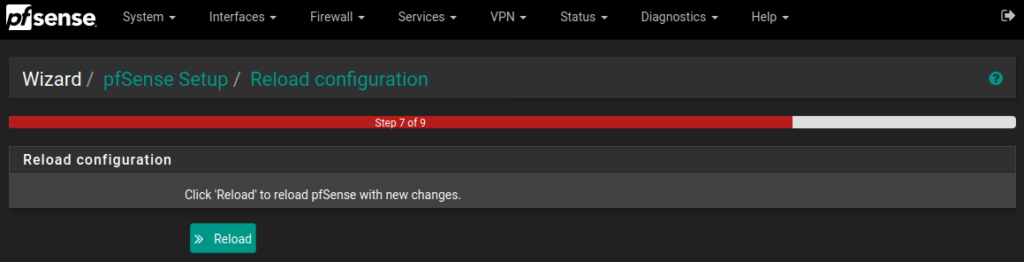
Now you have configured pfSense, all that is left is to reload the configuration.
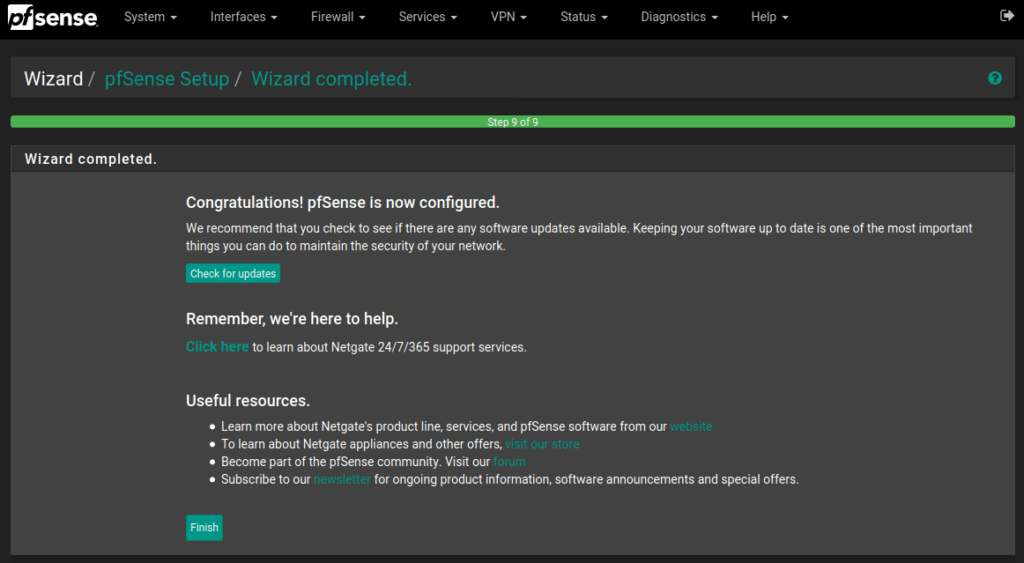
Finally, finish the wizard and you have successfully set up pfSense.
2 Responses
Your blog is refreshing. The standard of your writing makes reading a pleasure.
The article provides practical tips and insightful ideas. Thanks for sharing your experience with us.