How Can We Help?
Increase file upload size in WordPress
Are you running a WordPress server and do you want to increase the (standard) file upload size? This article will explain how to increase it in your PHP settings and web server (Apache) settings. As an added bonus, this article will also explain how to increase the file upload size in case you are having your web server behind a reverse proxy (NGINX).
Increase file upload size
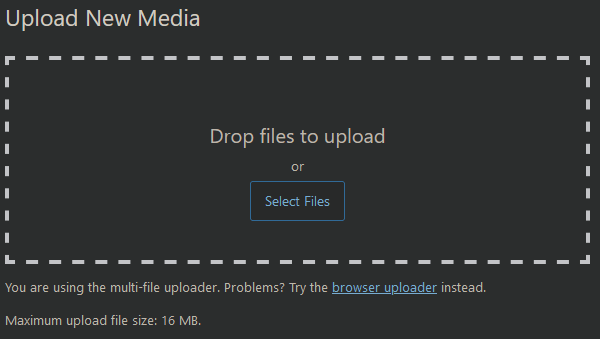
Before we increase the file upload size, you can check the current file upload size by either going to your WordPress admin page – Media – Add New.
Alternatively, you can add a PHP info page to your web server with the following content:
<?php
phpinfo();
?>
When you navigate to this page, you can search for upload_max_filesize.
To increase the file size you have to create a file named /etc/php/8.2/apache2/conf.d/wordpress.ini. Where 8.2 is your PHP version and wordpress.ini can be named to your liking. Add the following content to the file to match your preferred upload size.
upload_max_filesize = 50MNow restart your Apache web server to apply the new limit using systemctl restart apache2. Now either go back to WordPress and refresh the Upload New Media page or refresh your PHP info page. The new upload value should now appear!
Reverse Proxy
If you are also dealing with a reverse proxy, you might want to add the maximum file upload size there too! In this case, we are dealing with an NGINX reverse proxy. Open your website configuration and add the following in the server section:
client_max_body_size 50M;Now reload NGINX by using nginx -s reload.
4 Responses
I’m impressed by your innate ability to turn ordinary topics into compelling writing. Keep it up!
Your dedication to delivering quality content is admirable.
Your blog posts ignite a brilliance that enlightens my day. Thank you for that!
Your blog consistently captures my attention throughout. I can’t help but absorb every single word you write.