How Can We Help?
Add WordPress website to Plesk
Do you have a Plesk server to manage your domain and do you want to add one or more WordPress website(s) to your domain? This article will explain how to fully set up your domain with WordPress website(s) in Plesk.
Add domain
First, we have to set up the domain in Plesk. To do this login to Plesk, navigate to Websites & Domains, and click Add Domain. It will ask you what type of domain you want. In case you want your website to be on the main domain (i.e. example.com) then choose WordPress site. If you want to have the WordPress website on a subdomain (i.e. sub.example.com) choose Blank website.
Fill in the details as follows:
- Registered domain name: Your domain name (i.e. example.com)
- Webspace: Create a new webspace
- IPv4 address: Select the shared IP address from the list to make the domain publicly available over IPv4.
- IPv6 address: Optionally, select the shared IP address from the list to make the domain publicly available over IPv6.
- Username: A username for the domain
- Password: A password for the domain
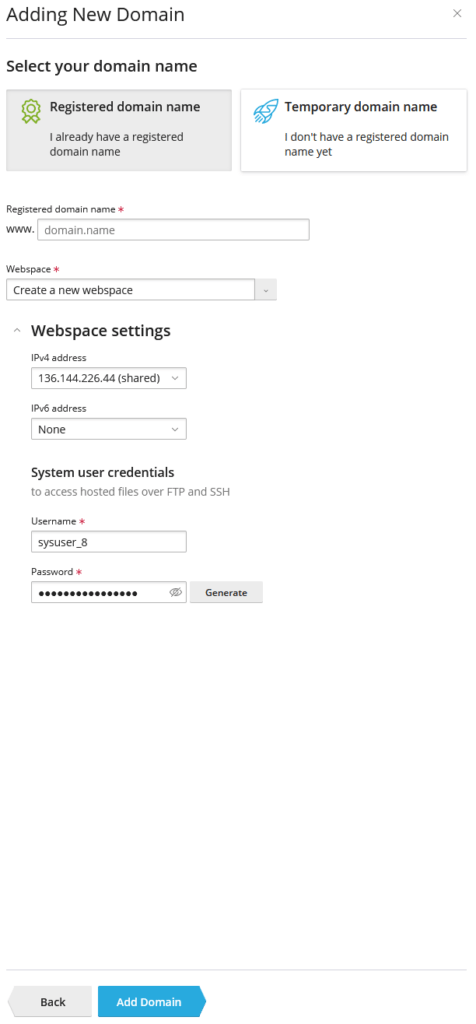
Once you are satisfied click Add domain.
Add subdomain
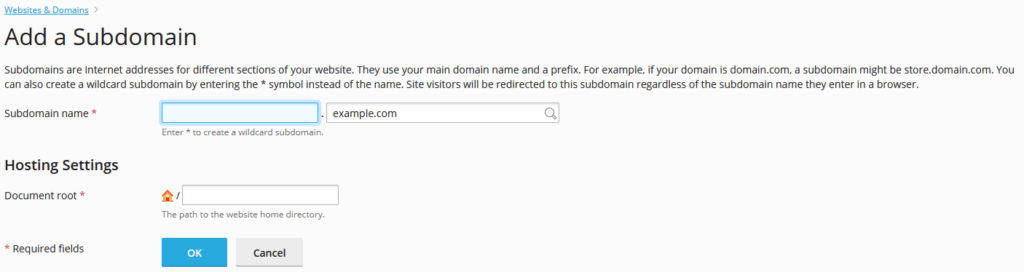
In case you want to install WordPress on your main domain you can skip this step. However, if you want to install WordPress on a subdomain (i.e. sub.domain.com) continue reading.
Click on Add Subdomain in Websites & Domains. Enter the subdomain name and click OK.
Add SSL certificate
To make your website secure you require an SSL certificate. Do this by navigating to your domain in the domain list under Websites & Domains. If needed click Show More. Now find SSL/TLS Certificates and click on it. Scroll down to Install a free basic certificate provided by Let’s Encrypt and click Install. Add your desired email address and select the security options applicable to you.
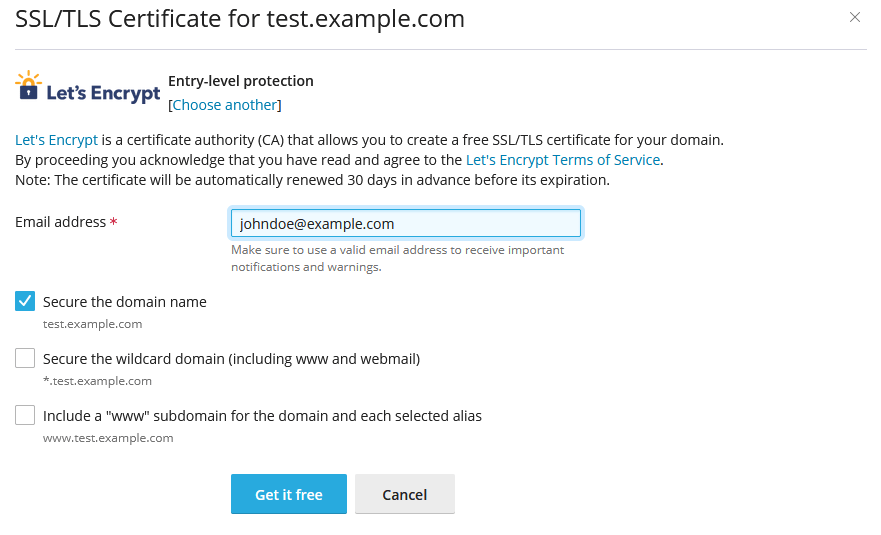
For a WordPress website Securing the domain name would be enough. However, if you have a web server or more services on your domain it would also require some other options. Click Get it Free to request the certificate.
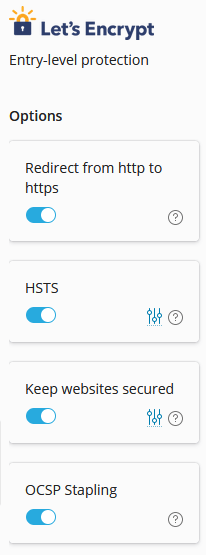
Once the certificate is granted also enable the following options:
- Redirect from HTTP to HTTPS
- HSTS
- Keep websites secured
- OCSP Stapling
Install WordPress
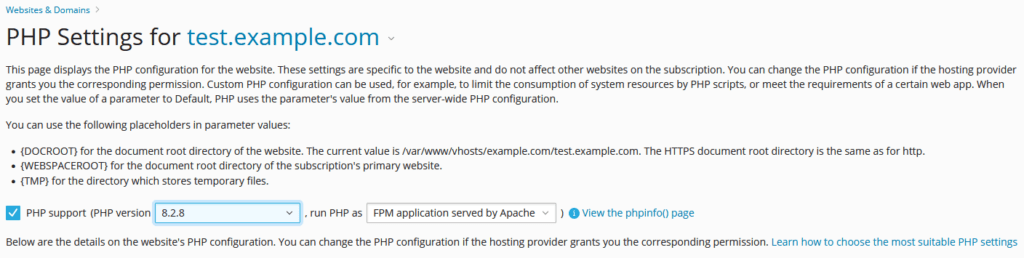
Before you install WordPress, select the correct PHP version for your website. Do this by navigating to your domain in the domain list under Websites & Domains. If needed click Show More. Now find PHP and click on it. Select your desired PHP version, tweak the settings to your liking and click OK.
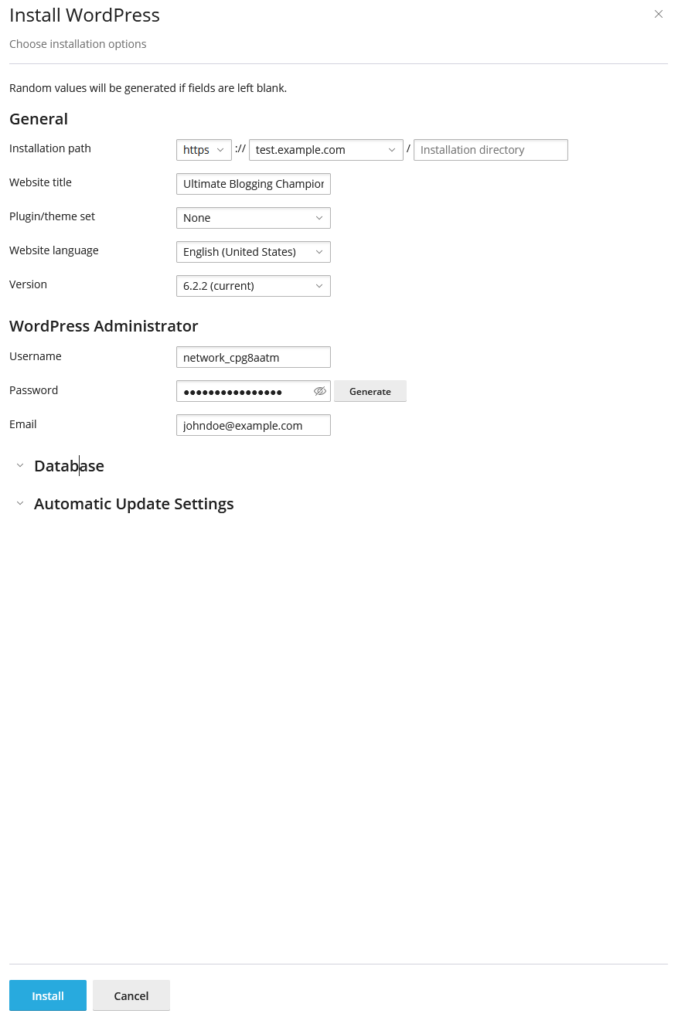
Now navigate to WordPress and click install. This will open a panel, fill in the following options:
- Installation path: Select the domain where you want to install WordPress on
- Website title: Give your WordPress website a title
- Plugin/theme set: If you have sets available for WordPress you can select one here
- Website language: Your desired WordPress language
- Version: WordPress version to install
- Username: The username to login to WordPress
- Password: The password to login to WordPress
- Email: The email of the WordPress admin user
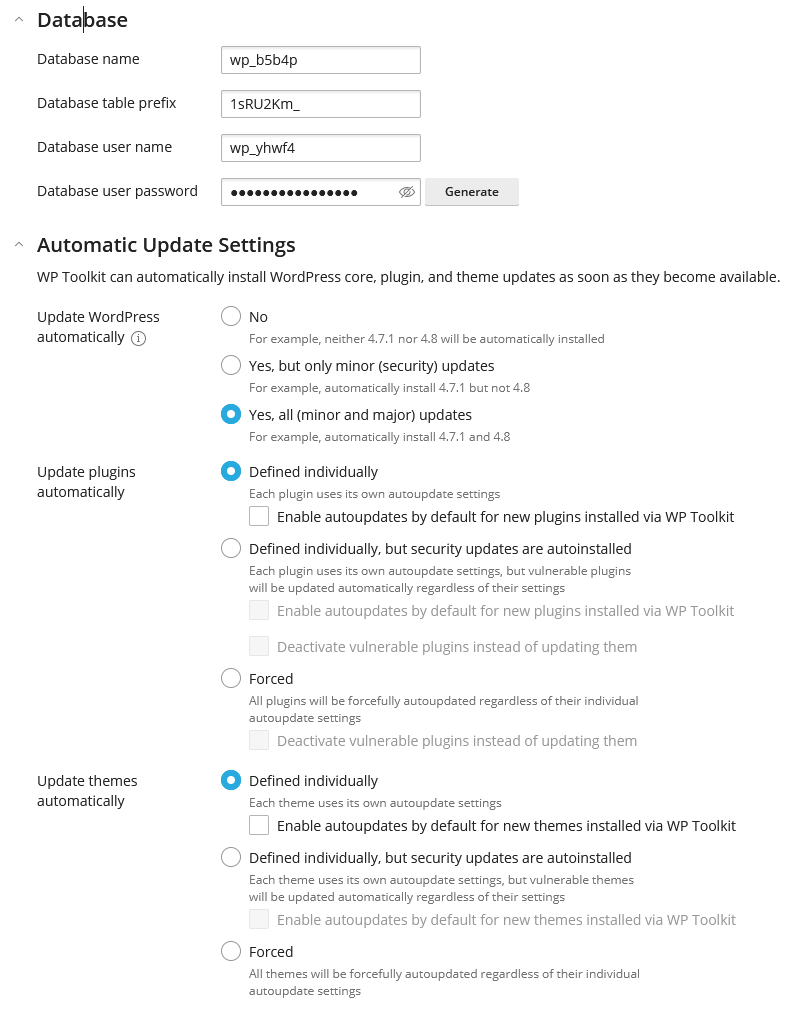
Additionally, you can tweak the Database and Automatic Update Settings to your liking.
Once you are satisfied click Install. Once the installation is successful your WordPress installation will appear in the list as shown below.
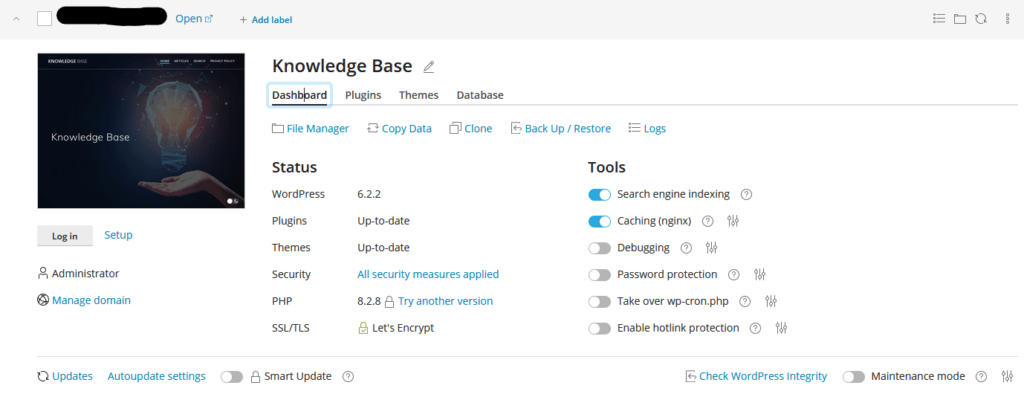
From this overview, you can furtherly tweak the WordPress installation.
2 Responses
Your blog consistently captures my attention from start to finish. I can’t help but absorb every single word you write.
This is a great post, I really enjoyed going through it. Your way of writing is very engaging and your ideas are very relevant. Keep up the fantastic work!