How Can We Help?
TrueNAS Samba Share
To be able to access data from your NAS you require shares to be set up. This article helps you add a Samba share to your TrueNAS.
Prerequisites
For this tutorial, it is assumed that you have already set up a Pool with a Dataset. If you have not set this up yet, check wiki.mphslaats.com.
Adding a user
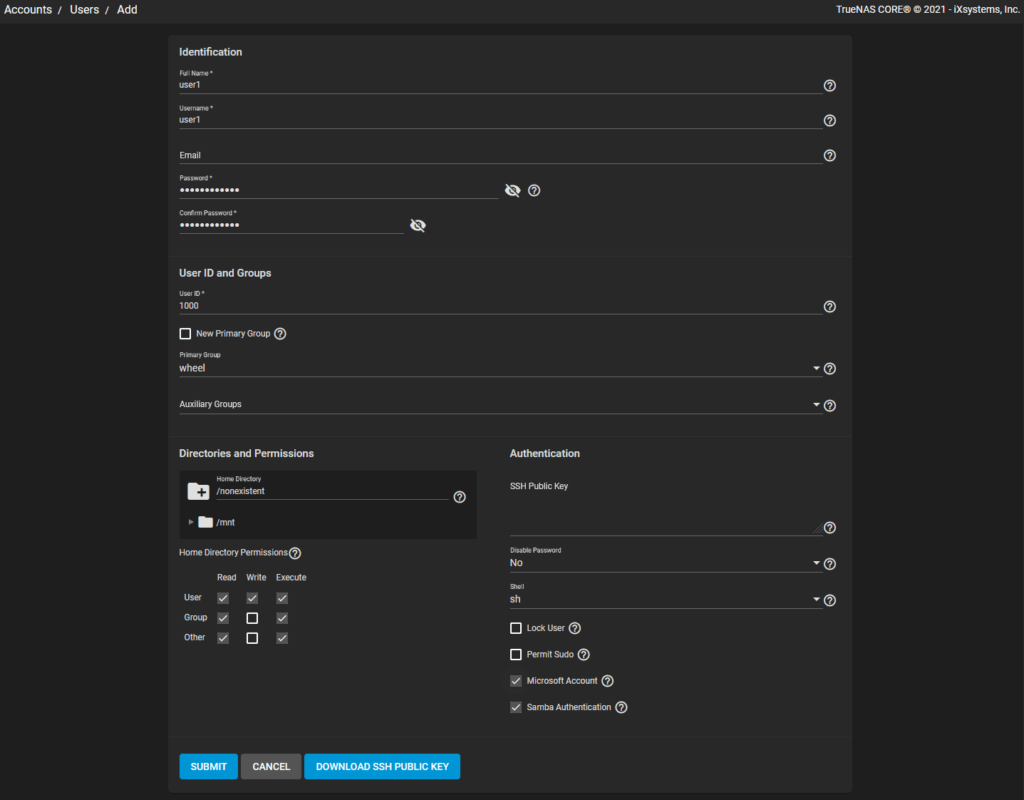
To be able to access the Samba share you require a user. To add a user log in to your TrueNAS web interface navigate to Accounts – Users and click on Add. Fill in the name, username, and password.
By default, TrueNAS will create a new group with the same name as the user. To disable this, deselect New Primary Group, and select your desired group. Take note that if you select the wheel group, the user will get read access to all shares (unless configured otherwise).
Also, make sure to select Microsoft Account, this will enable additional authentication methods which makes it easier to authenticate with a Windows PC.
Adding a Samba share
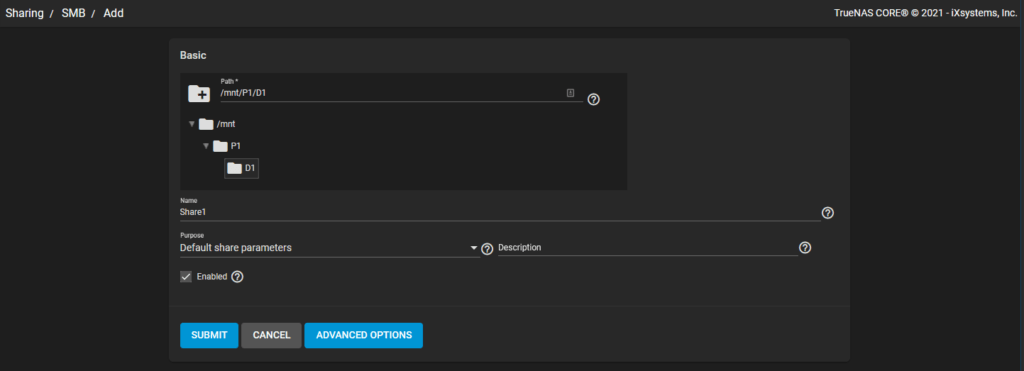
Navigate to Sharing – Windows Shares (SMB), and click Add. Select your desired dataset as the path, give your share a name, and optionally add a description. If you want to use the share for multiple services, select the appropriate purpose. Once you are satisfied click Submit.
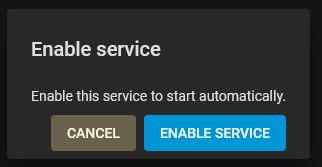
If this is your first Samba share it will prompt you to enable the service, click Enable service.
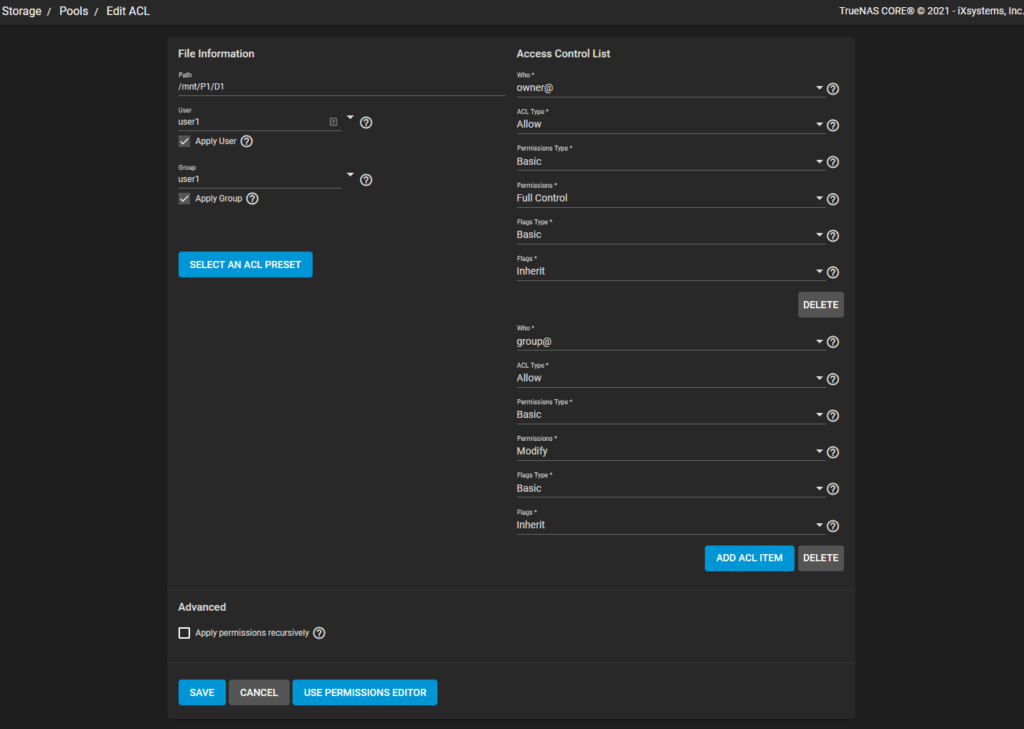
TrueNAS will now prompt you if you want to set up an Acces Control List (ACL), click on configure now to do so.

In the ACL configuration, you have the possibility to choose a preset. If you want it to be an open share you can select OPEN, if this is a personal one you can select RESTRICTED. Of course, you are free to create your own configuration.
For this tutorial I want it to be restricted to user1 so select RESTRICTED.
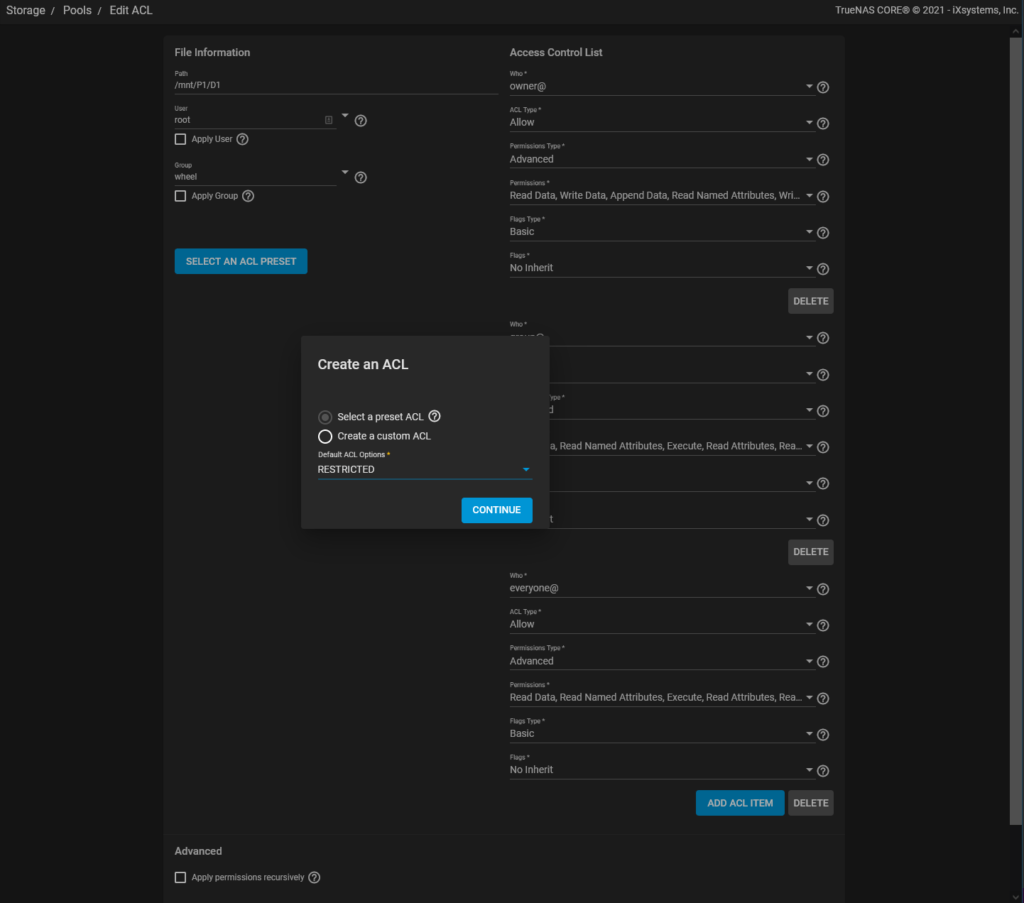
Now, select user1 as both the user and the group and select apply for both user and group. If you are satisfied with the configuration, click Save.
Connecting to the share
On your Windows machine open explorer and type \\<IP of your TrueNAS>\Share1. This will prompt you for a username and password. Once entered you have access to your share.
FAQ
During the process, I created shares a couple of times again, which resulted in getting an error in Windows that I was not able to access the share. Please reboot your machine and try to access the share again. This should work!
One Response
Your ability to transform ordinary subjects into fascinating writing is truly remarkable. Kudos!