How Can We Help?
Proxmox Installation
Proxmox is a virtual environment server based on Debian. It allows you to create virtual machines and containers to run your services on.
Prerequisites
For future notice, the Proxmox roadmap can be found at pve.proxmox.com.
Download Proxmox from the official Proxmox (proxmox.com) website (Choose for Proxmox Virtual Environment). Install the downloaded image on a flash drive. This article is based on Proxmox VE 8.0.3.
Take note that you install it using DD Image mode, especially if you use Rufus (rufus.ie) while creating the bootable disk. Not doing this could result in an error in which Proxmox is not able to find the cdrom.
Installation
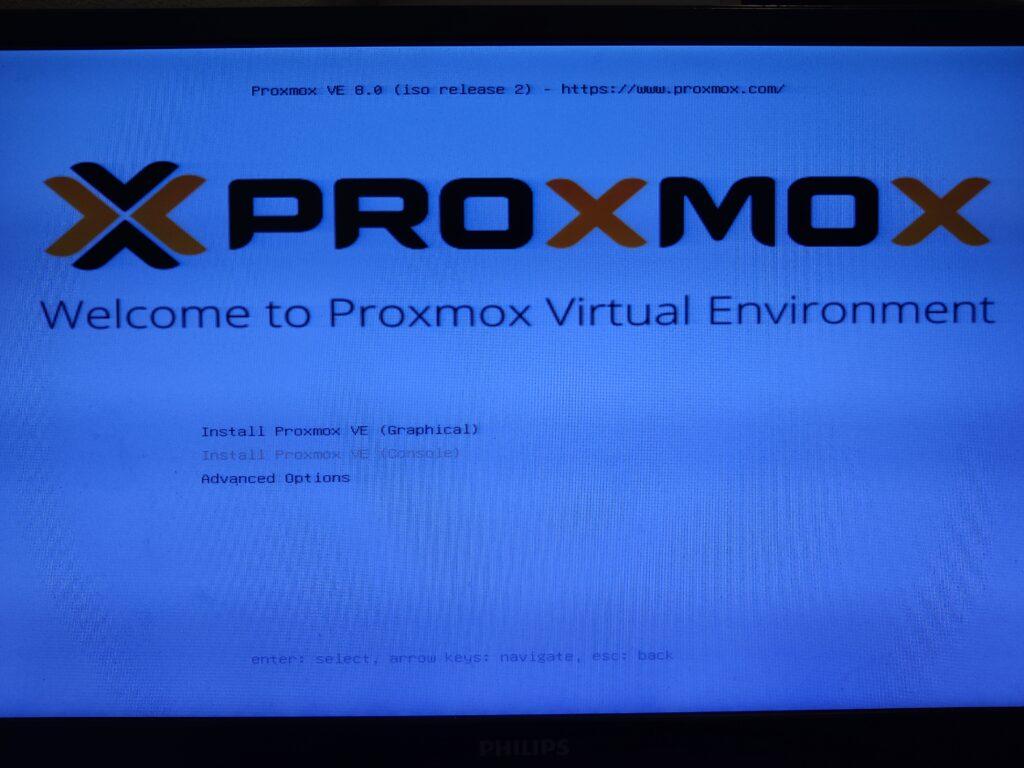
After you prepared your installation drive, insert it into your server and boot it up. Proxmox will greet you with a welcome menu in which you can choose between a graphical and a console install. Both of them are fine but this article covers the console installation.
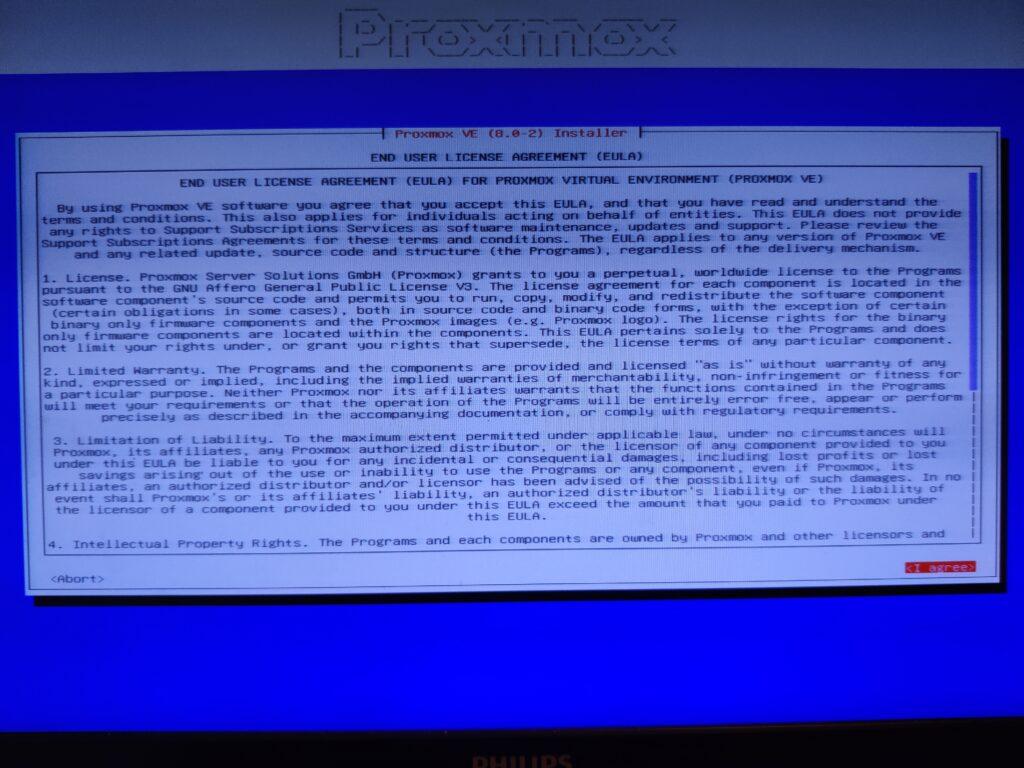
Accept the End User License Agreement (EULA).
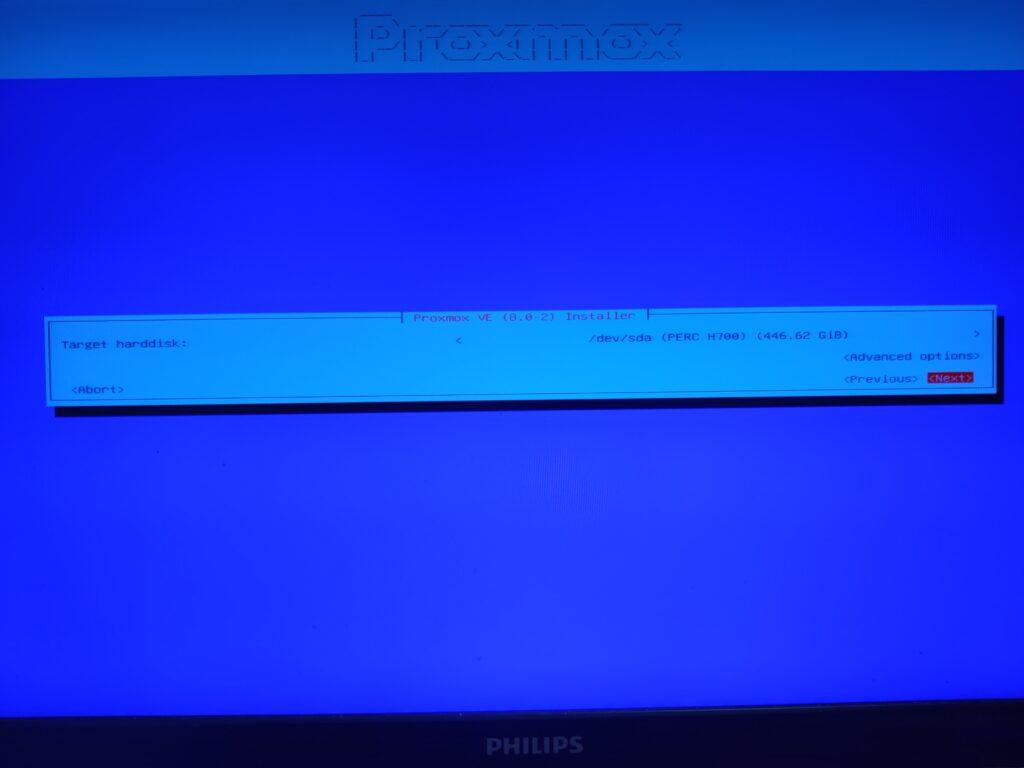
Next up, you have to choose on which drive you want to install Proxmox. If you want to change the formatting options, for example, click Advanced options to change them.
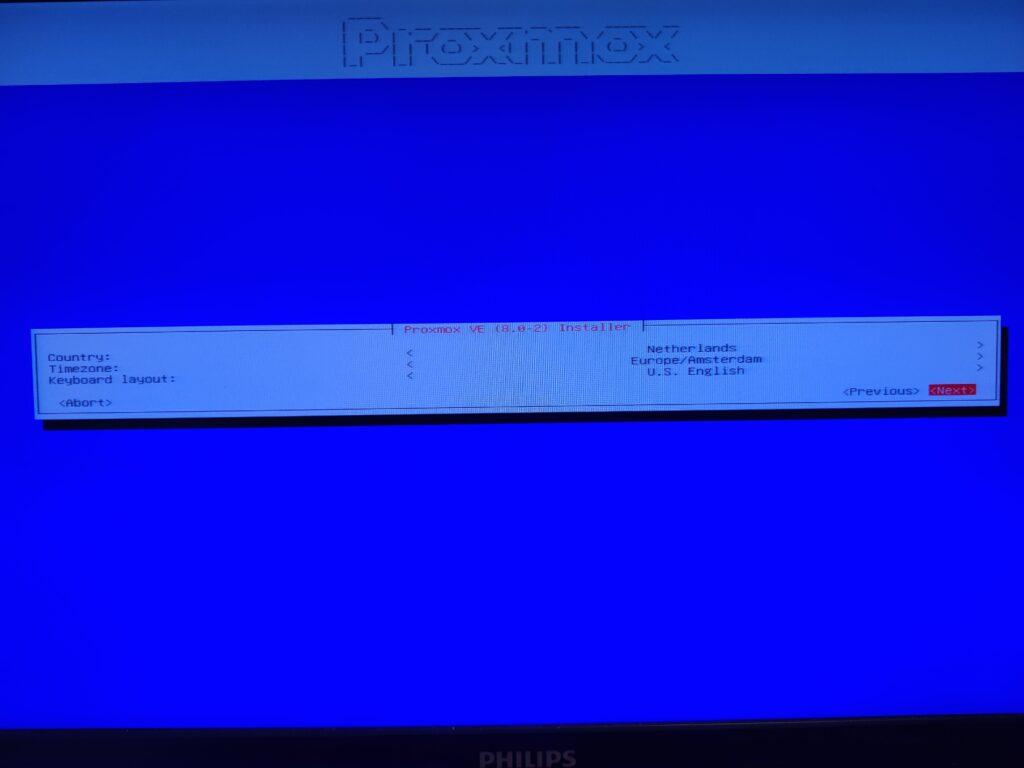
Now you have to select the country, timezone, and keyboard layout for your server.
In case your keyboard starts spamming keystrokes if you press a key once, after this step, go back to this step and choose the keyboard layout again (this can be the same keyboard layout).
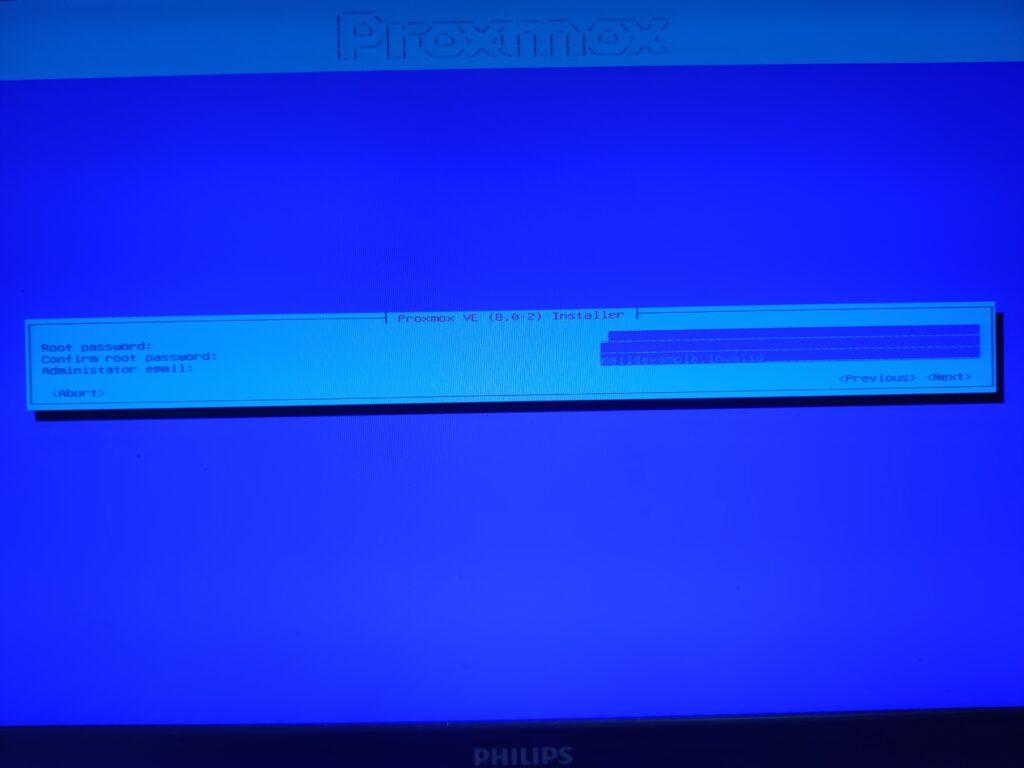
Then you have to fill in a root password, which you have to use when logging in after the installation. You can also enter an administrator email address on which Proxmox is able to contact you about important alerts of your server.
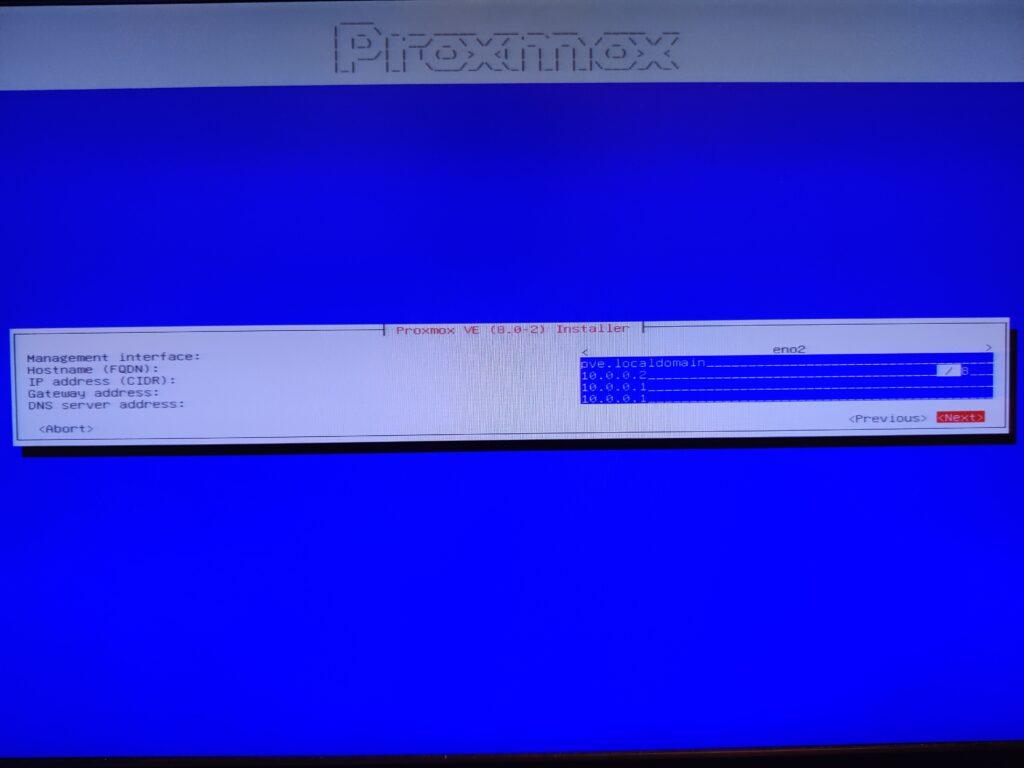
If Proxmox detects an internet connection it will automatically fill in that configuration in the network section. If you want to change it you can do that here.
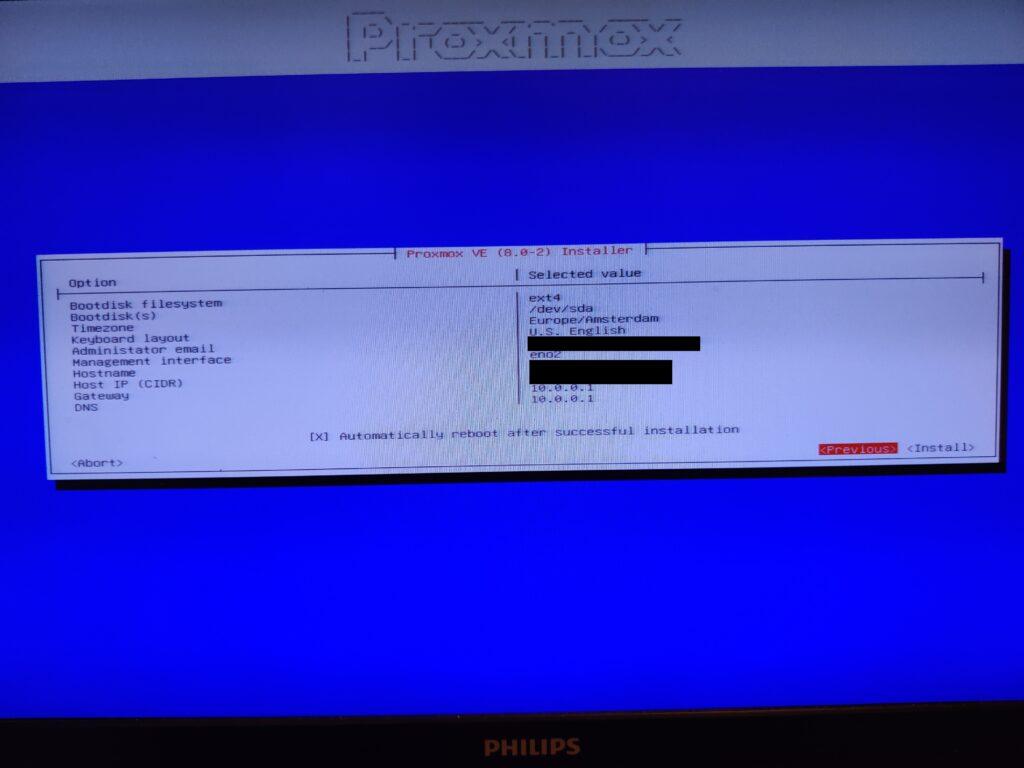
Proxmox will then show you a summary of how you want it to be installed on your system, click Install to continue.
When the installation is finished Proxmox will reboot. After the reboot, you can either log in via direct access to your Proxmox server, or you can go to the given URL shown after reboot. Either way, you have to log in with the username root and the password you set during the installation.
Post-installation steps
If you do not have a subscription to Proxmox you are allowed to use it. However, by default, you are not able to fetch updates via the package manager. If you try to run apt update you will get the output similar as shown below.

This error shows you that you are not allowed to download from some mirrors. To fix this you have to let Proxmox know that you use it without a subscription. To do this, you first have to delete the old package repository link. Do this by running the following:
rm /etc/apt/sources.list.d/pve-enterprise.listNow, you have to create a new file in /etc/apt/sources.list.d. Let’s call this file pve-no-subscription.list. Open the file and make sure it contains the following:
deb http://download.proxmox.com/debian/pve buster pve-no-subscriptionSave the file. Now open the /etc/apt/sources.list.d/ceph.list and change:
#deb https://enterprise.proxmox.com/debian/ceph-quincy bookworm enterprise
deb http://download.proxmox.com/debian/ceph-quincy bookworm no-subscription
Save the file, and now you are able to update the system.